Exploring HTML div height
In HTML, the <div> tag is commonly used as a container for grouping and styling content. The height of a <div> element can be set using various CSS properties. In this article, we will explore different ways to set the height of a <div> element in HTML.
Setting a fixed height for a div
One way to set the height of a <div> element is by using the height property in CSS. This property allows you to specify a fixed height in pixels, ems, rems, or other units.
Output:

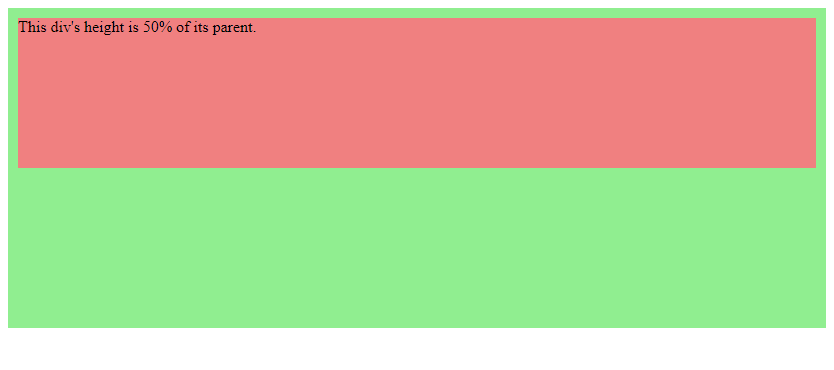
Setting height as a percentage of the parent element
You can also set the height of a <div> element as a percentage of the height of its parent element. This is useful for creating responsive layouts that adjust to the size of the viewport.
Output:

Setting height to auto
By default, the height of a <div> element is set to auto, which means it will adjust its height based on the content inside it. This allows the <div> to expand or shrink as needed.
Output:

Setting height using min-height and max-height
In some cases, you may want to ensure that a <div> element is at least a certain height but can expand beyond that if needed. This can be achieved using the min-height and max-height properties.
Output:

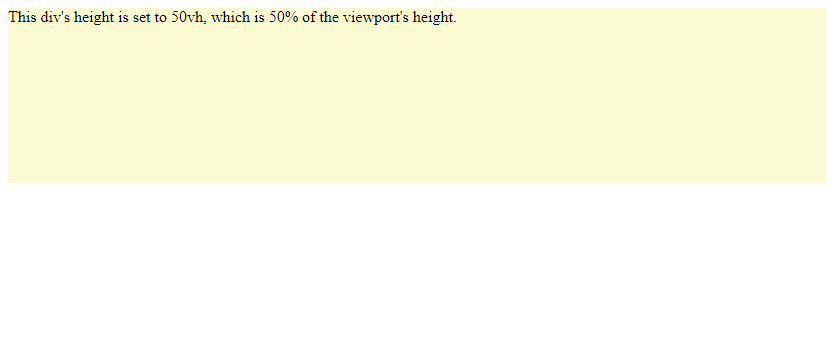
Setting height using viewport units
Viewport units are a relative length unit in CSS that represent a percentage of the viewport’s height. Using viewport units can help create layouts that scale based on the size of the viewport.
Output:

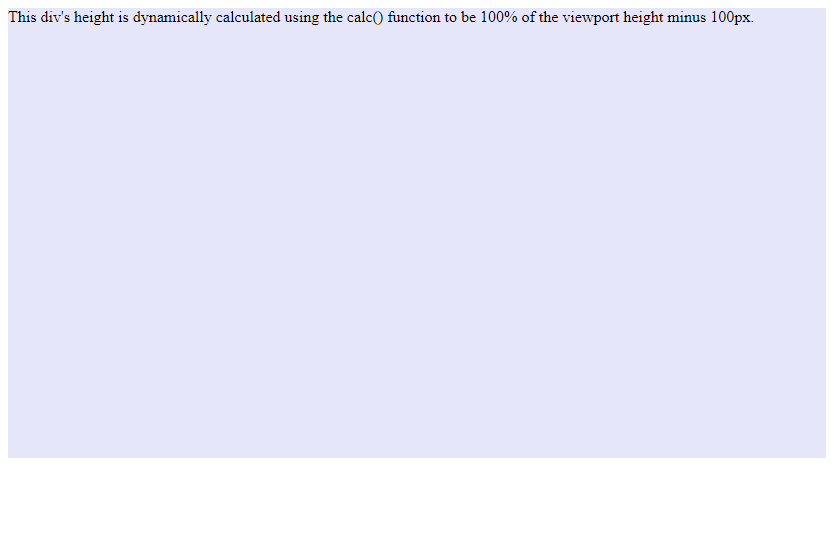
Using calc() function to set height
The calc() function in CSS allows you to perform calculations to set the height of an element. This can be useful for creating layouts that require dynamic height calculations.
Output:

Animating height with CSS transitions
You can also animate the height of a <div> element using CSS transitions. This can create a smooth effect when the height changes, such as when revealing hidden content.
Output:

Using JavaScript to dynamically set height
If you need to set the height of a <div> element dynamically based on user input or other factors, you can use JavaScript to update the height property.
Output:

Nesting div elements with different heights
In more complex layouts, you may need to nest <div> elements with different heights. This can be achieved by setting the height of each nested <div> individually.
Output:

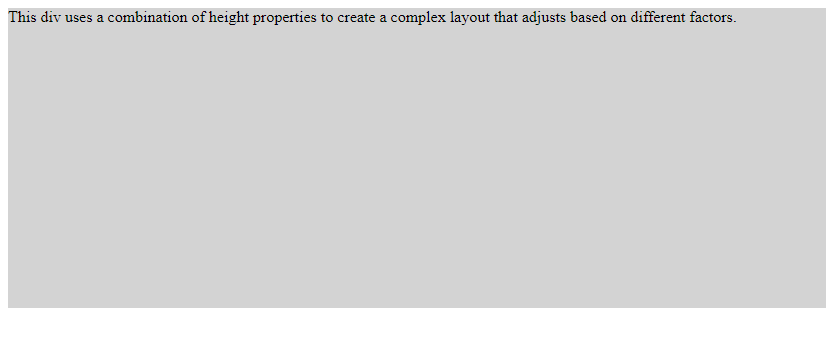
Combining height properties for complex layouts
In many cases, you may need to combine different height properties to create complex layouts that adjust based on various factors. By combining fixed heights, percentages, min/max heights, and other techniques, you can achieve almost any desired layout.
Output:

In conclusion, the height of a <div> element in HTML can be set in various ways using CSS properties and techniques. Whether you need a fixed height, a percentage height, a dynamic height, or a combination of different height properties, HTML and CSS provide the flexibility to achieve your desired layout. Experiment with the examples provided in this article to better understand how to manipulate the height of <div> elements in HTML.
 How HTML