How to Add an Image to HTML
Adding an image to an HTML document is a common task when creating a website. In this guide, we’ll cover the different ways you can insert images into your HTML code, and provide step-by-step examples.
Using the <img> Tag
The most common way to add an image to an HTML document is by using the <img> tag. This tag is a self-closing tag and requires two attributes: src and alt.
Here is an example of how to add an image using the <img> tag:
Output:

In the example above, replace "https://how2html.com/wp-content/themes/dux/img/logo.png" with the URL of the image you want to display, and "How2HTML Logo" with a description of the image.
Setting Image Width and Height
You can also specify the width and height of an image using the width and height attributes within the <img> tag.
Here is an example:
Output:

In the example above, the image will be displayed with a width of 200 pixels and a height of 100 pixels.
Using Inline CSS to Style Images
You can use inline CSS to further customize the appearance of an image, such as adding borders or margins.
Here is an example:
Output:

In the example above, the image will have a black border with a width of 1px and a margin of 10px around it.
Using Background Images
You can also set an image as a background for an element in HTML using CSS.
Here is an example:
Output:

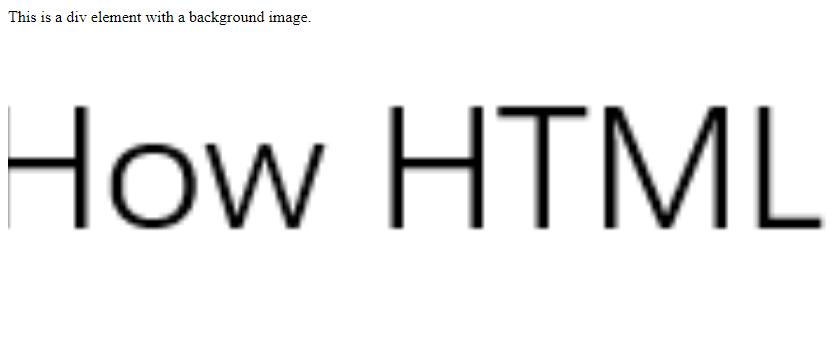
In the example above, the div element will have https://how2html.com/wp-content/themes/dux/img/logo.png as its background image, with a height of 300px, and the image will cover the entire element.
Using the <picture> Tag
The <picture> tag allows you to define multiple sources for an image based on screen size or pixel density.
Here is an example:
Output:

In the example above, if the screen width is greater than 768px, the large image https://www.how2html.com/large-image.jpg will be displayed. Otherwise, the small image https://www.how2html.com/small-image.jpg will be shown.
These are just a few ways to add images to HTML documents. Experiment with these examples and explore more image-related features to enhance your web pages.
 How HTML